Buy or Rent an Agent
This guide walks you through getting an agent from the store — from browsing to your first run.
1. Browse the marketplace
Open the Agent Store and stay on Browse Agents (the home page).
- Search — the search box matches the agent's name, the seller's name, its description, tags, and listed benefits.
- Filter — use the pills All / Buy / Rent to show only one listing type.
- Load more — 12 agents are shown at a time; click Load More Agents for the next page.
Each agent card shows a thumbnail, the agent name, a short description, up to 3 tags, up to 3 key benefits, the seller's name, and a button with the price — for example Buy ₹1500, Rent ₹800, or Get for Free.
2. Check the agent's detail page
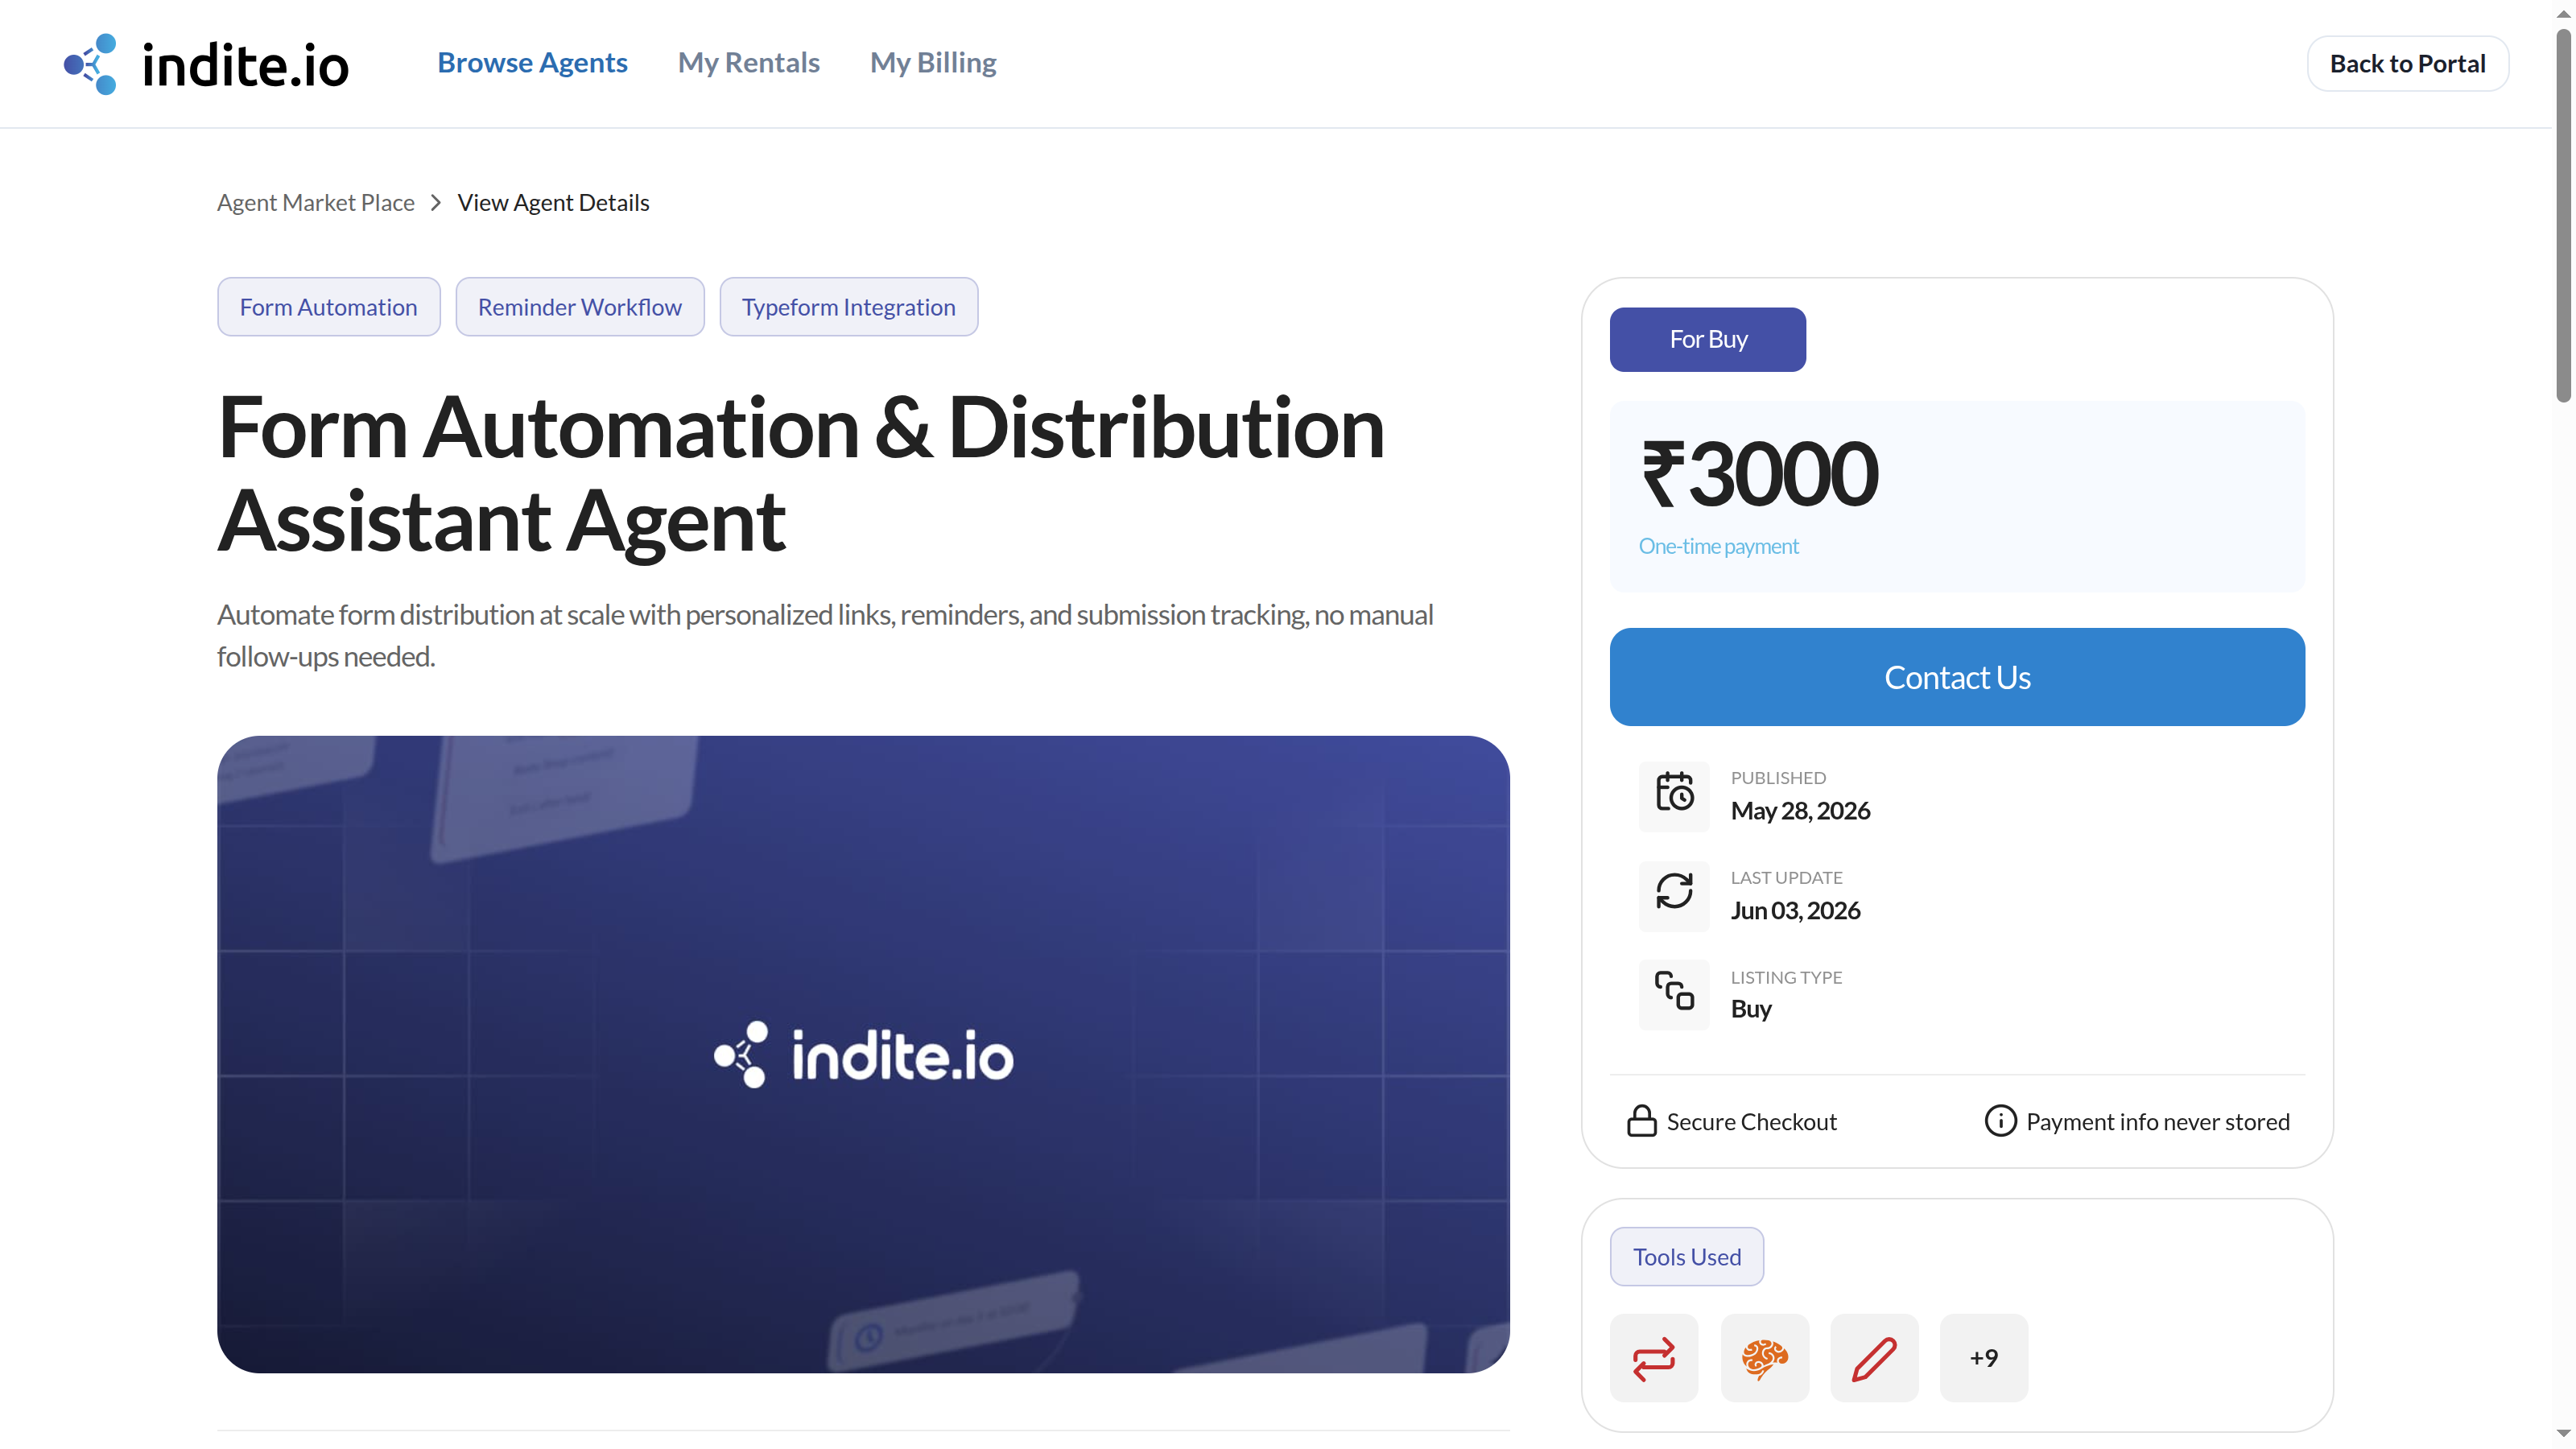
Click a card to open the agent's page. Here you can review everything before paying:
- What This Does — the seller's full description of the agent.
- Demo video — most sellers include a short video showing the agent running.
- Tools Used — icons of the integrations the agent uses (for example WhatsApp, Google Sheets, an AI model). This tells you which credentials you will need to connect after getting it.
- Pricing panel — the price, whether it is One-time payment (buy) or Per 30 days (rent), the listing type, and the last update date.
You can see which tools an agent uses, but never the seller's workflow design itself — the flow is only revealed after you buy or rent it.
3. Complete the checkout
Click Buy for ₹X / Rent for ₹X / Get This Agent. You must be signed in with your Indite account — if not, you'll be asked to sign in first.
Review what's included (rentals only)
Rentals come with bundled credits, already included in the price:
- 200 Execution Credits for standard agents, or
- 100 Execution Credits + 50 AI Credits for agents that use AI blocks.
One execution credit = one workflow run. AI credits are consumed by the agent's AI blocks.
Add extra credits (optional, rentals only)
Use the Add more credits sliders to buy extra Execution Credits and AI Credits (up to 1000 each) in the same checkout.
Fill in billing details
For any paid agent, enter:
- Company / Individual Name (required)
- Billing Email (required)
- GSTIN (optional — add it if you want your GST number on the invoice)
These are remembered for your next purchase.
Check the price breakdown
The summary shows the owner's base price, any extra credits, the platform Service Fee (rentals only), and CGST + SGST for Indian payments, followed by the Total Amount.
Pay
Click Confirm & Pay and complete the payment in the Razorpay window. Free agents skip the payment step entirely.
4. After the payment
You'll see a confirmation screen with two options:
- View Invoice — opens My Billing, where your GST invoice is ready.
- Go to Workspace (purchases) or Go to Agent (rentals) — takes you straight to your new agent.
What happens behind the scenes:
| Bought agent | Rented agent | |
|---|---|---|
| Where it appears | Builder → Workflows (as a draft workflow you own) | Agent Store → My Rentals |
| Status | Draft, inactive — publish it when ready | Inactive — configure, then publish and activate |
| Valid for | Forever | 30 days from the rental date |
Connect your own credentials before running the agent. All the seller's connections were removed from your copy. Open each block that needs an account (shown by the "Tools Used" icons) and connect yours. For rentals this is done on the rental's configuration page — see Manage Rented Agents.
Rules worth knowing
- You can rent a given agent only once at a time. To extend it, use Rent Again when it expires — your remaining credits are kept.
- You cannot buy or rent your own listing.
- If a card shows Contact Us, the seller has removed the listing — email support@indite.io if you need continued access.